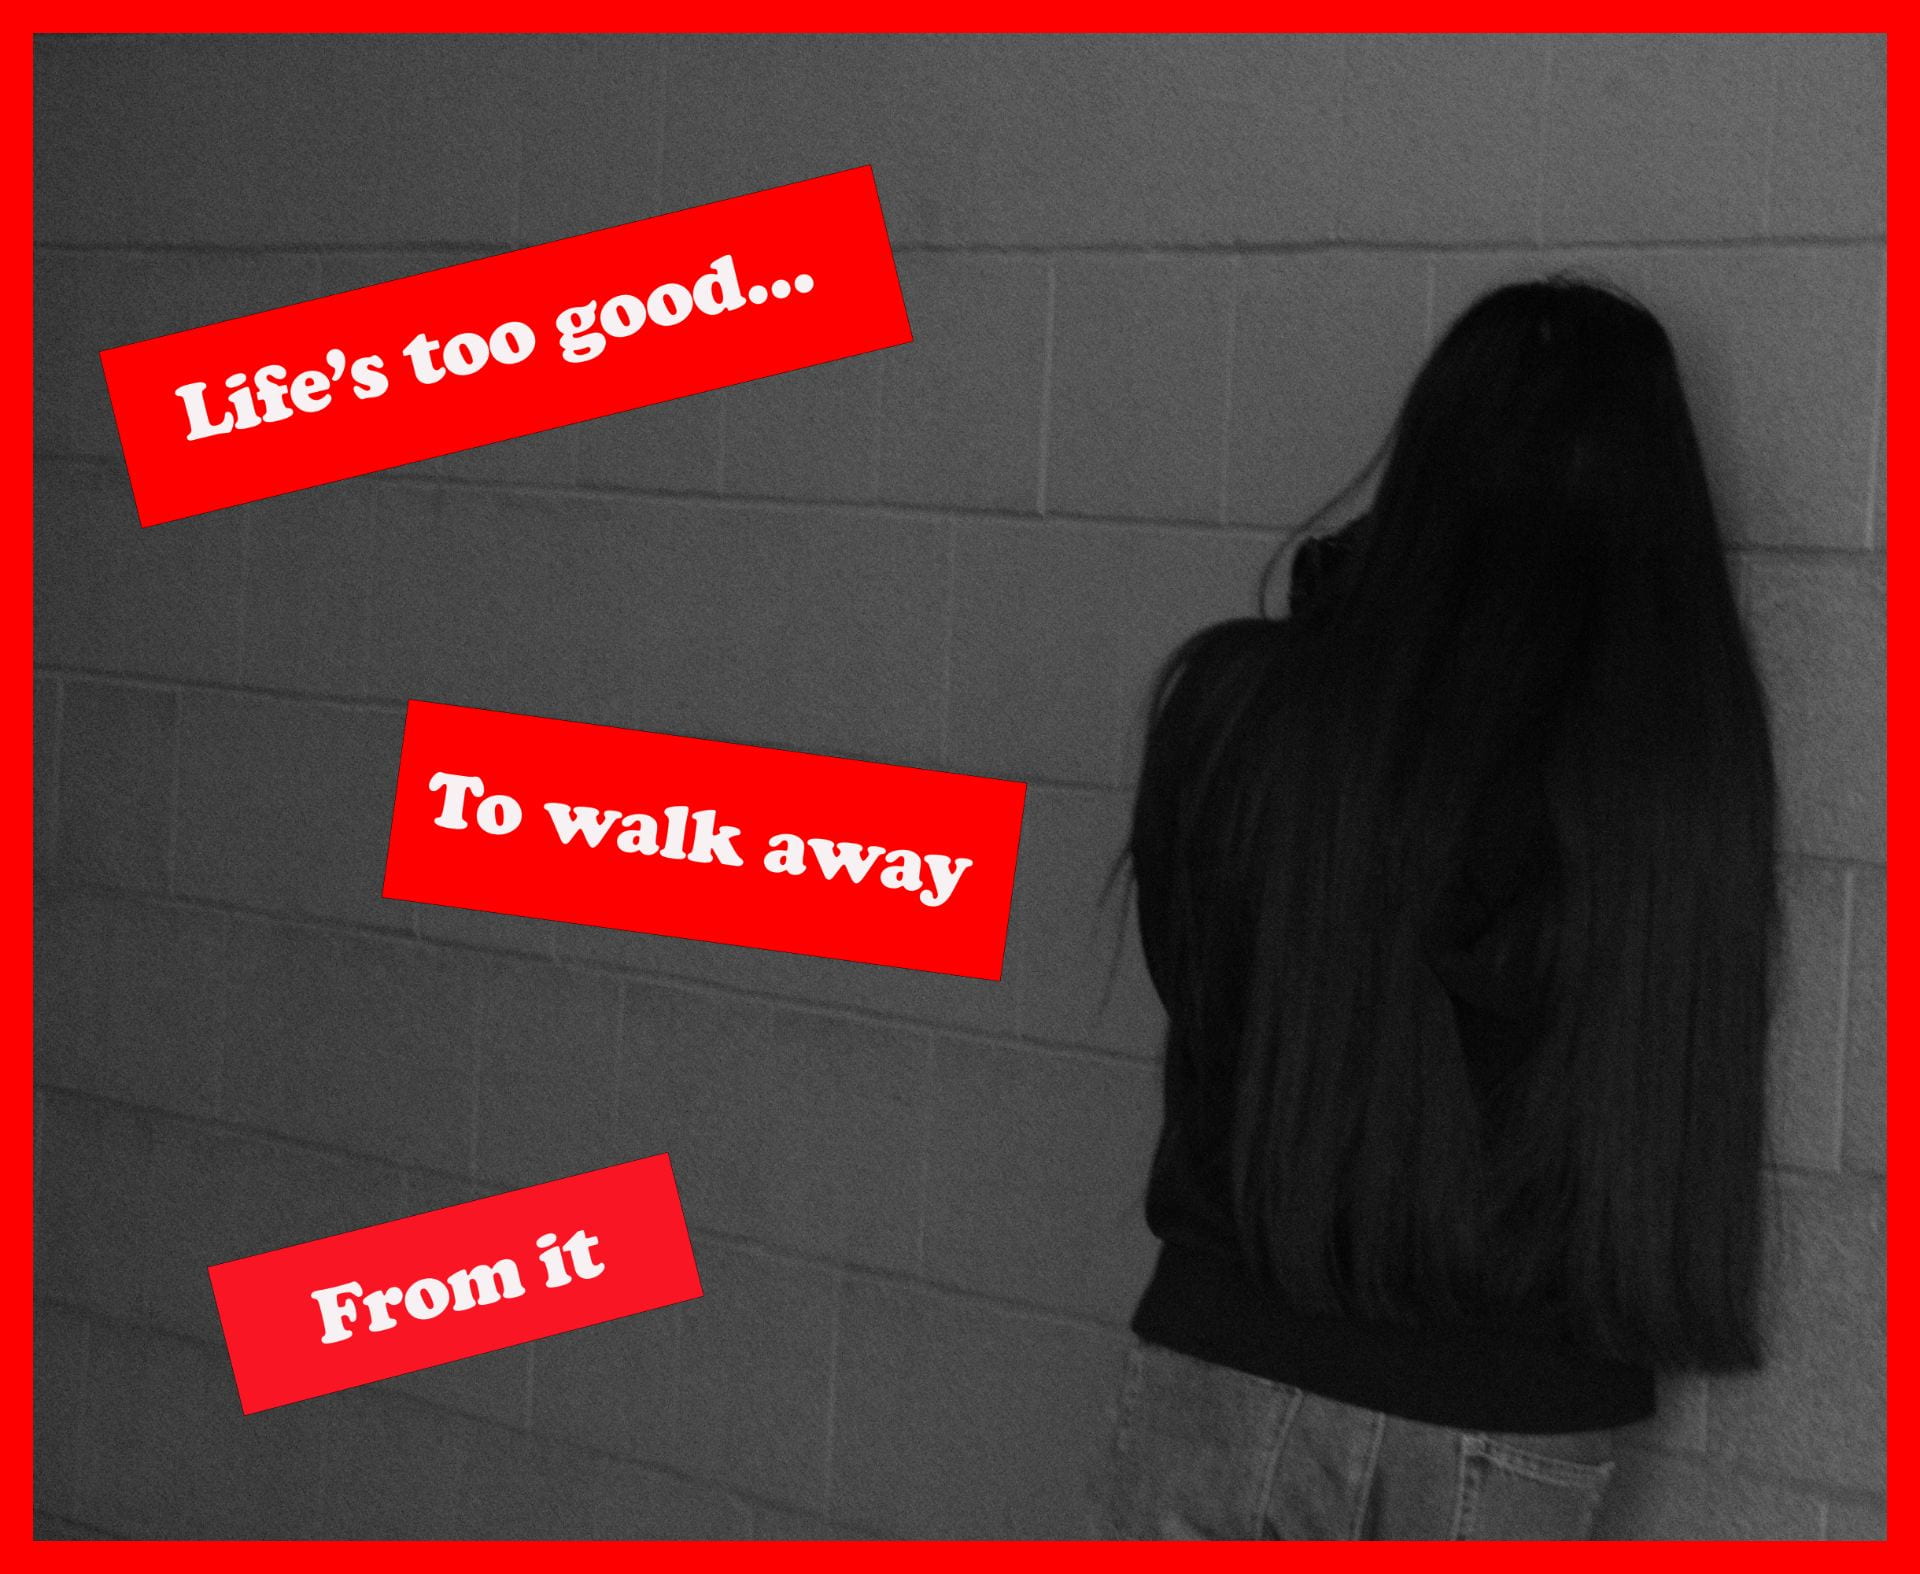
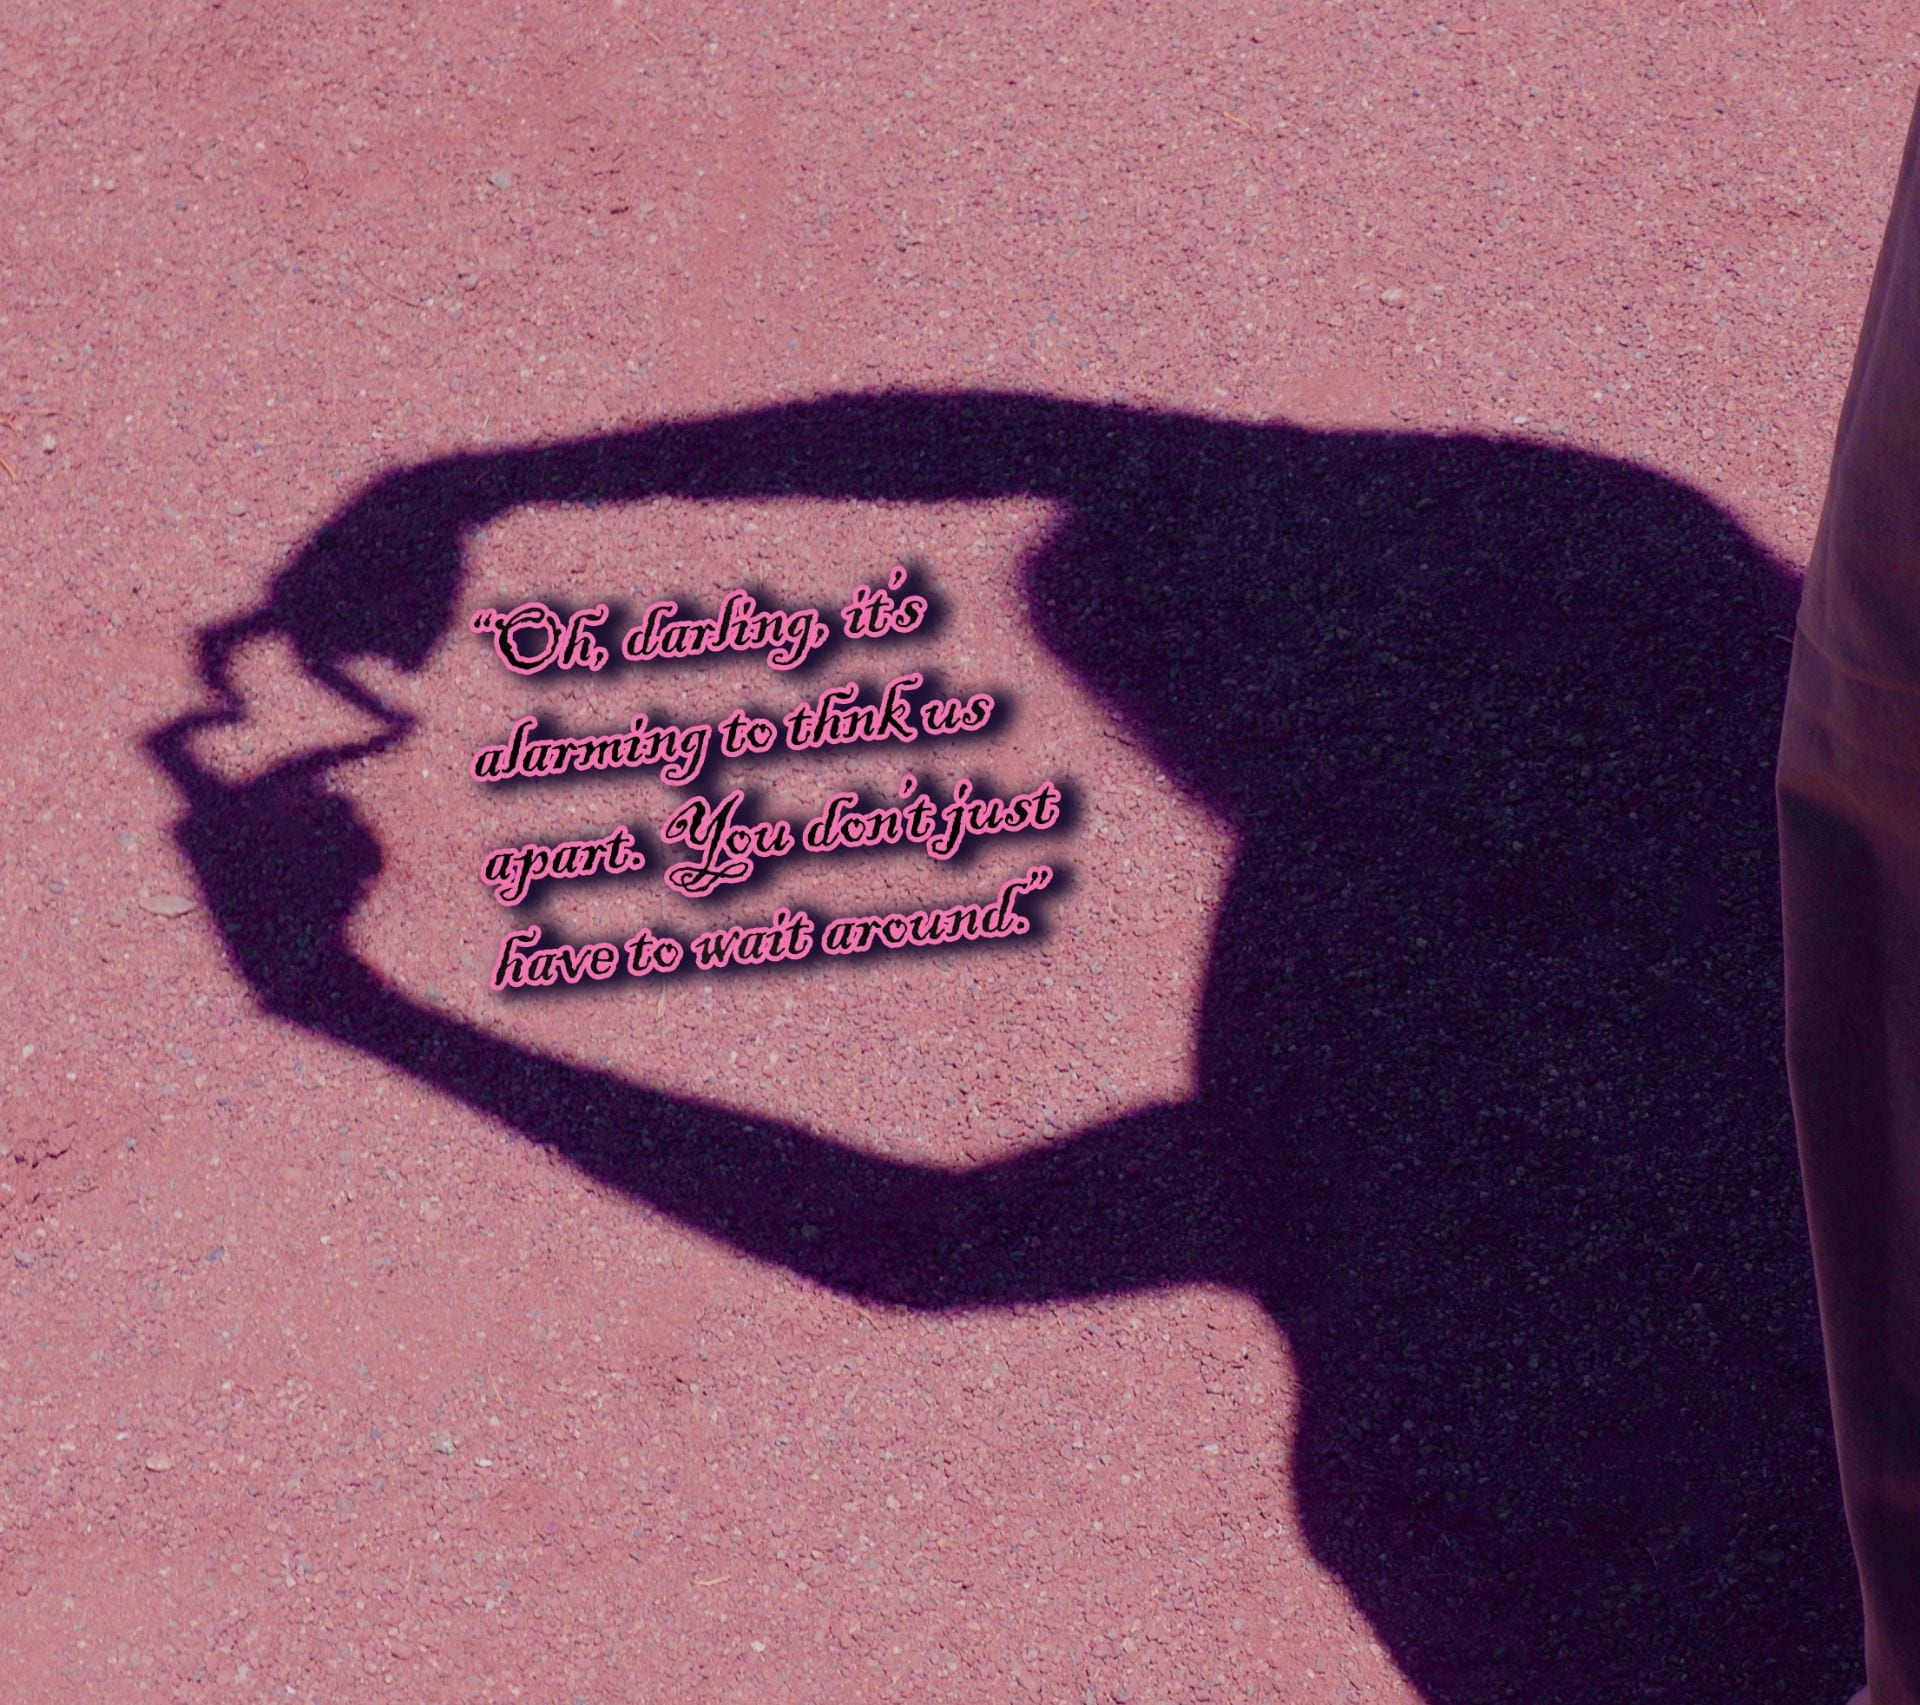
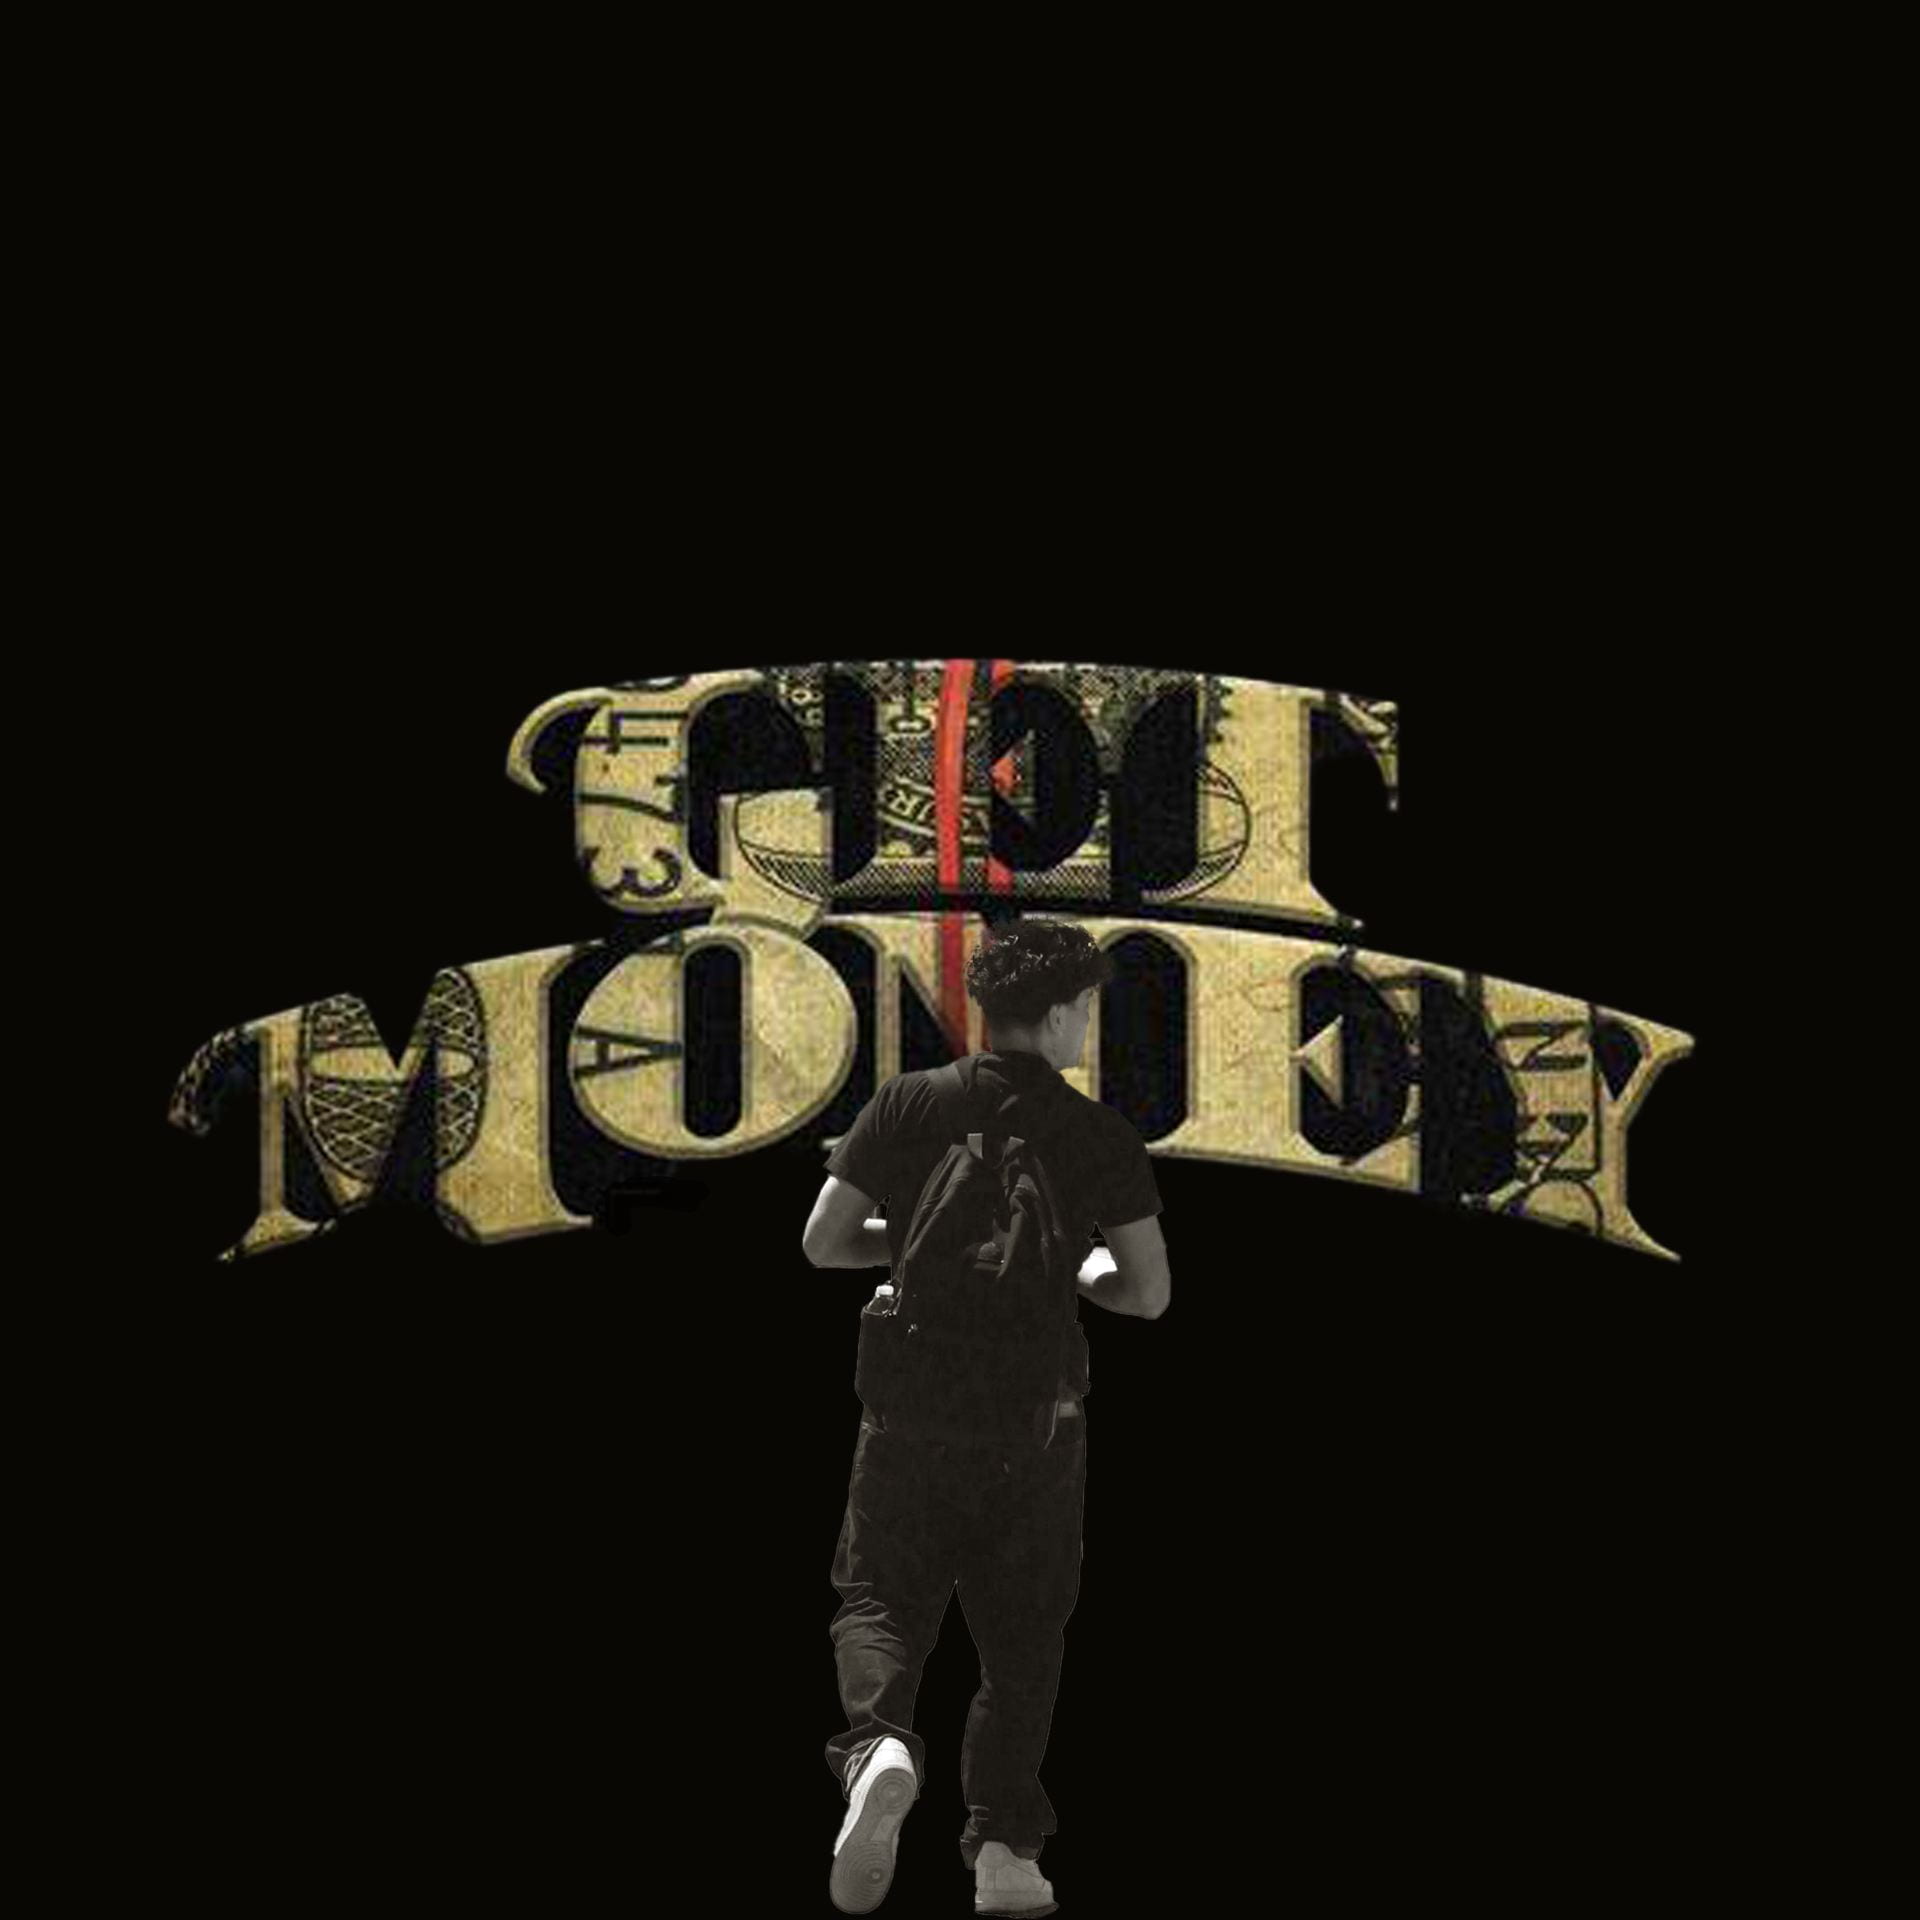
3-5 magazine covers
Read & Write: 10 essential tips
- You can always get to know light better. Whether it’s moving from studio to natural light, from day shooting to night shooting or from flash to continuous light – stay a constant observer of this most important part of photography. Learning more, seeing more, trying more.
- Whether it’s an adherence to the rule of thirds, a love of circles, filling the frame, dramatic lines or repeating patterns, your choices in how you frame a shot defines you as a photographer. Know what appeals to you and create your voice through your compositions.
- Audiences love detail and light provides it. The more light, the more detail. But don’t forget to keep a steady hand, too. This is the physical skill of taking photos – keeping the camera level and still. Keep improving your abilities here, use a tripod when necessary and remember that there are surfaces everywhere to place a camera on or steady yourself with. Also, most new cameras have the ability to click a shutter with your phone. Take advantage of every tool you have to get as much detail in every shot.
- There’s nothing less impressive than the know-it-all photographer. As good as your shots get, there’s always room to learn and improve. When you keep a student mentality, it keeps you curious and hungry. And this keeps you getting better. As soon as you think you got this all down, you join the ranks of the jaded and uninteresting. Stay thirsty, put yourself in places that challenge you.
- It’s true, mastering your camera and all its settings makes you a more flexible photographer, and there are certain kinds of shots that simply cannot be achieved without taking the reins on your camera’s controls. However, there are also plenty of situations where auto can be a life-saver. No need to make life hard for yourself for no reason. If you’re simply out trying to capture a moment, try it on auto for a bit – your camera may surprise you. Doing a portrait in a difficult lighting situation? Try putting it on aperture priority, going as wide as it will allow for that shallow depth of field and let the camera figure out the rest. It’s there to make your life a little easier when you need it. No shame in the auto game.
- Very few of us read our manuals. But you should definitely think about digging it out and learning something new about your gear. Put aside some time on a rainy day, or during a long, boring airplane ride. As dry as that writing is – and as many times as you’ve tried to understand what TTL or rear curtain means – really studying it might just lead to the idea you need right now.
- “Create your own voice!” You hear that alot in the photography world. And it’s super noble. On the other hand, there’s an incredible amount of inspiring photographers out there doing awesome work – why not just taste a bit of someone else’s style and see if it sparks something new in you? Truth is, you’ll never do exactly what someone else did – it’s too hard to control every single variable anyway. Use someone else’s genius as a starting point and then go be your own genius. Scientists work this way, why can’t photographers?
- Just a quick reminder here to give yourself every bit of flexibility and detail available in your great camera by keeping it on RAW mode. RAW images allow more forgiving post work with more data and detail to make your image exactly the way you want. You can even compensate for a bad exposure or bring up some shadows.
- Here’s what you need to know about the big three: aperture, shutter speed and ISO. Each one is designed to give you more light, with a payoff. The art of truly mastering the manual mode is understanding what each one of those elements takes away as it gives you more light.
- As lines recede in space, they converge. You know it as perspective. But your audience only knows it for how it draws their attention to something, or creates a dynamic feel to your image. Experiment with the height of your camera, how you position it to look down a street and where the lines all lead. Even squatting down a foot can dramatically change the way a shot will be felt. Likewise, getting on a ladder, or holding your camera over your head will alter the perspective. You’re the director.
Letter to new photo 1 students
Dear photo 1 students of next year,
I’m glad I am able to write this note/letter to all of you on some advice for the class and somethings you may find enjoyable. I want to stay this off by giving you a little warning, try not to piss Mrs. Cauchon off. She’s a really nice and funny teacher who’s easy to get along with but trust me when I say you do not want to piss her off, you’ve been warned. Try to do every assignment like the read & writes, I know they sound boring, and truth be told they kind of are (sorry Mrs. Cauchon), but you learn a lot of things about the topics on those articles and some of them are kind of interesting! Surprisingly… This class is super fun though, especially when you have friends in the class, just make sure to be respectful of the time limit and equipment you use when out shooting pictures! Mrs. Cauchon tries to make this class as enjoyable as possible especially with her assignments she gives. Now some of them people really like while others don’t but from my personal experience my favorites were when we first get to use adobe lightroom, and the illustration of an iconic image, (look out for the weezer image its mine). Although I don’t expect you to enjoy the same ones I do since there are a lot of other assignments she has. You may be worried about the workload but take this from me who, is a freshie when writing this, that this class is stress free and super easy to pass, the only way you can actually fail this class is by not posting your photos on your blog. Try to have fun in this class next year’s photo 1 class, I have a lot more I’d like to say but that would take a long time to write this and I’m on a time crunch right now! See you later photo 1 and remember this class has total freedom and creativity when editing so go wild!
Perla Y Jimenez
PS- Don’t wait till the last minute when doing typing assignments like I am right now, manage your time, I promise you that you’ll always get a whole week to do these assignments!


