- You want to bounce the light from the flash onto the subject via ceilings, walls, or other objects to get better results.
- When using a flash, you usually don’t need a handheld light meter, especially when using a dedicated flash that communicates with your camera.
- the synchronizing the firing of a photographic flash with the opening of the shutter admitting light to photographic film or electronic image sensor.
- Evaluative through the lens.
- When you shoot faster than the camera sync speed, the second curtain starts to close before the first curtain has fully opened, resulting in the exposure being captured by a slit that travels down the frame.
- Bounce flash diffusers provide a different approach to softening the light. Instead of shooting the strobe forward towards the subject, they “bounce” the light away from the scene.
- In photography, a slave is a flash unit set to slave mode which will fire when it detects the output of another flash unit.
- Use a faster shutter speed to reduce the amount of time the sensor is exposed to light.
Month: February 2024


13 Camera Settings Every Beginner Needs To Know R&W
- Setting the exposure (with a histogram)- setting the exposure is changing different setting like; Aperture, Shutter Speed, and ISO.
- RAW- RAW is a digital image file which stored your camera’s memory card.
- Selecting focusing points M (manually)- you find what focus subject you want of the picture.
- AF modes- Autofocus modes with different shooting modes, Single and continuous….
- APERTURE PRIORITY- camera mode that allows the photographer to set a specific aperture value (f-number) while the camera selects a shutter speed to match it.
- SHUTTER PRIORITY- assisted mode that gives you control of your camera’s shutter speed.
- control motion blur-If you find yourself shooting in bright light conditions, like during a sunny day at noon, you may struggle to use a slow shutter speed without pushing the aperture to f/22 and creating unpleasant diffraction effects….
- M white balance (Manually)-white balance in digital photography means adjusting colors so that the image looks more natural.
- Drive modes/ Metering modes- Metering modes let you specify how your camera evaluates the scene to determine a correct exposure.
- ISO- camera setting that determines the sensitivity of the image sensor to light.
- Auto-ISO- Auto ISO is a camera function that lets you select a range of ISO values.
- Exposure compensation- Exposure Compensation is a way of tweaking the exposure that your camera thinks is ‘perfect’.
- M Exposure (manual)- Manual exposure is what is achieved when a photographer uses a camera in manual mode.
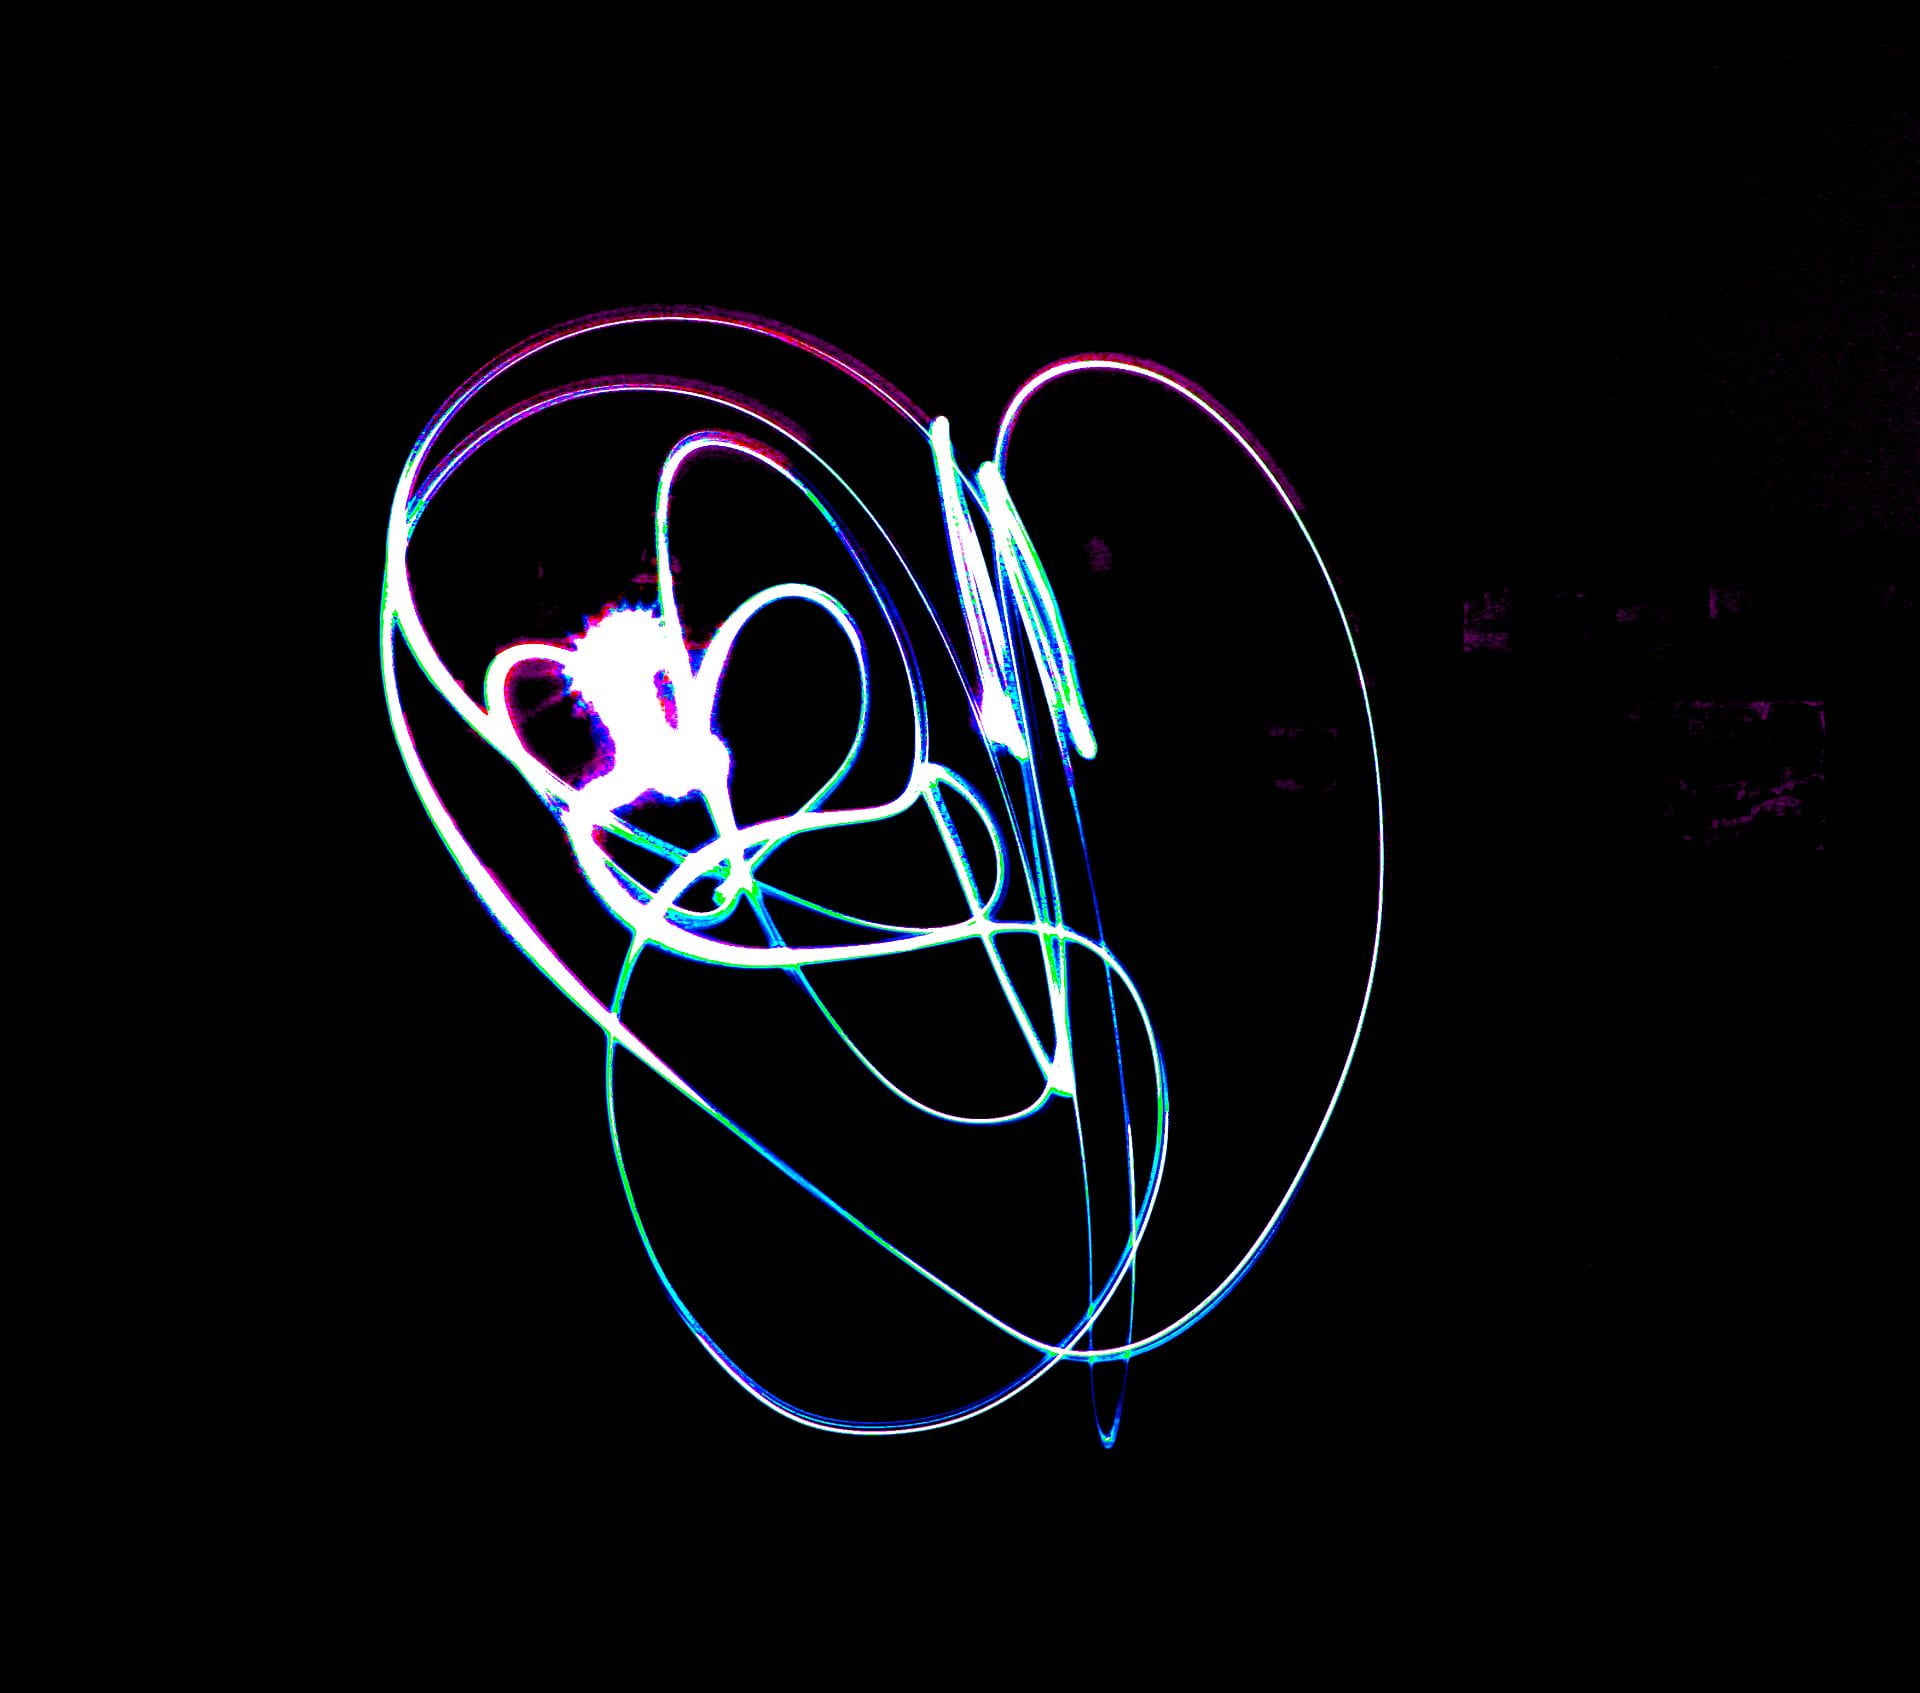
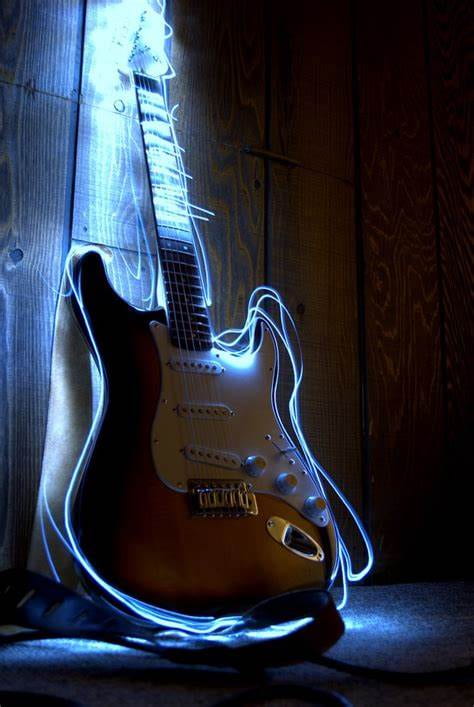
PAINTING WITH LIGHT
HDR PHOTOGRAPHY
HDR MEANING AND RESULT STEPS!
- HDR stands for High Dynamic Range and is a technique that expresses details in content in both very bright and very dark scenes.
- Ways to achieve HDR photography is to take multiple shots of the same scene with just focusing and exposing on certain parts of the landscape for each photograph you take till everything you want is clear in at least one photo.
- Then you then edit all the pictures together to get the desired photograph.
HDR PHOTOGRAPH & CRITIQUE!

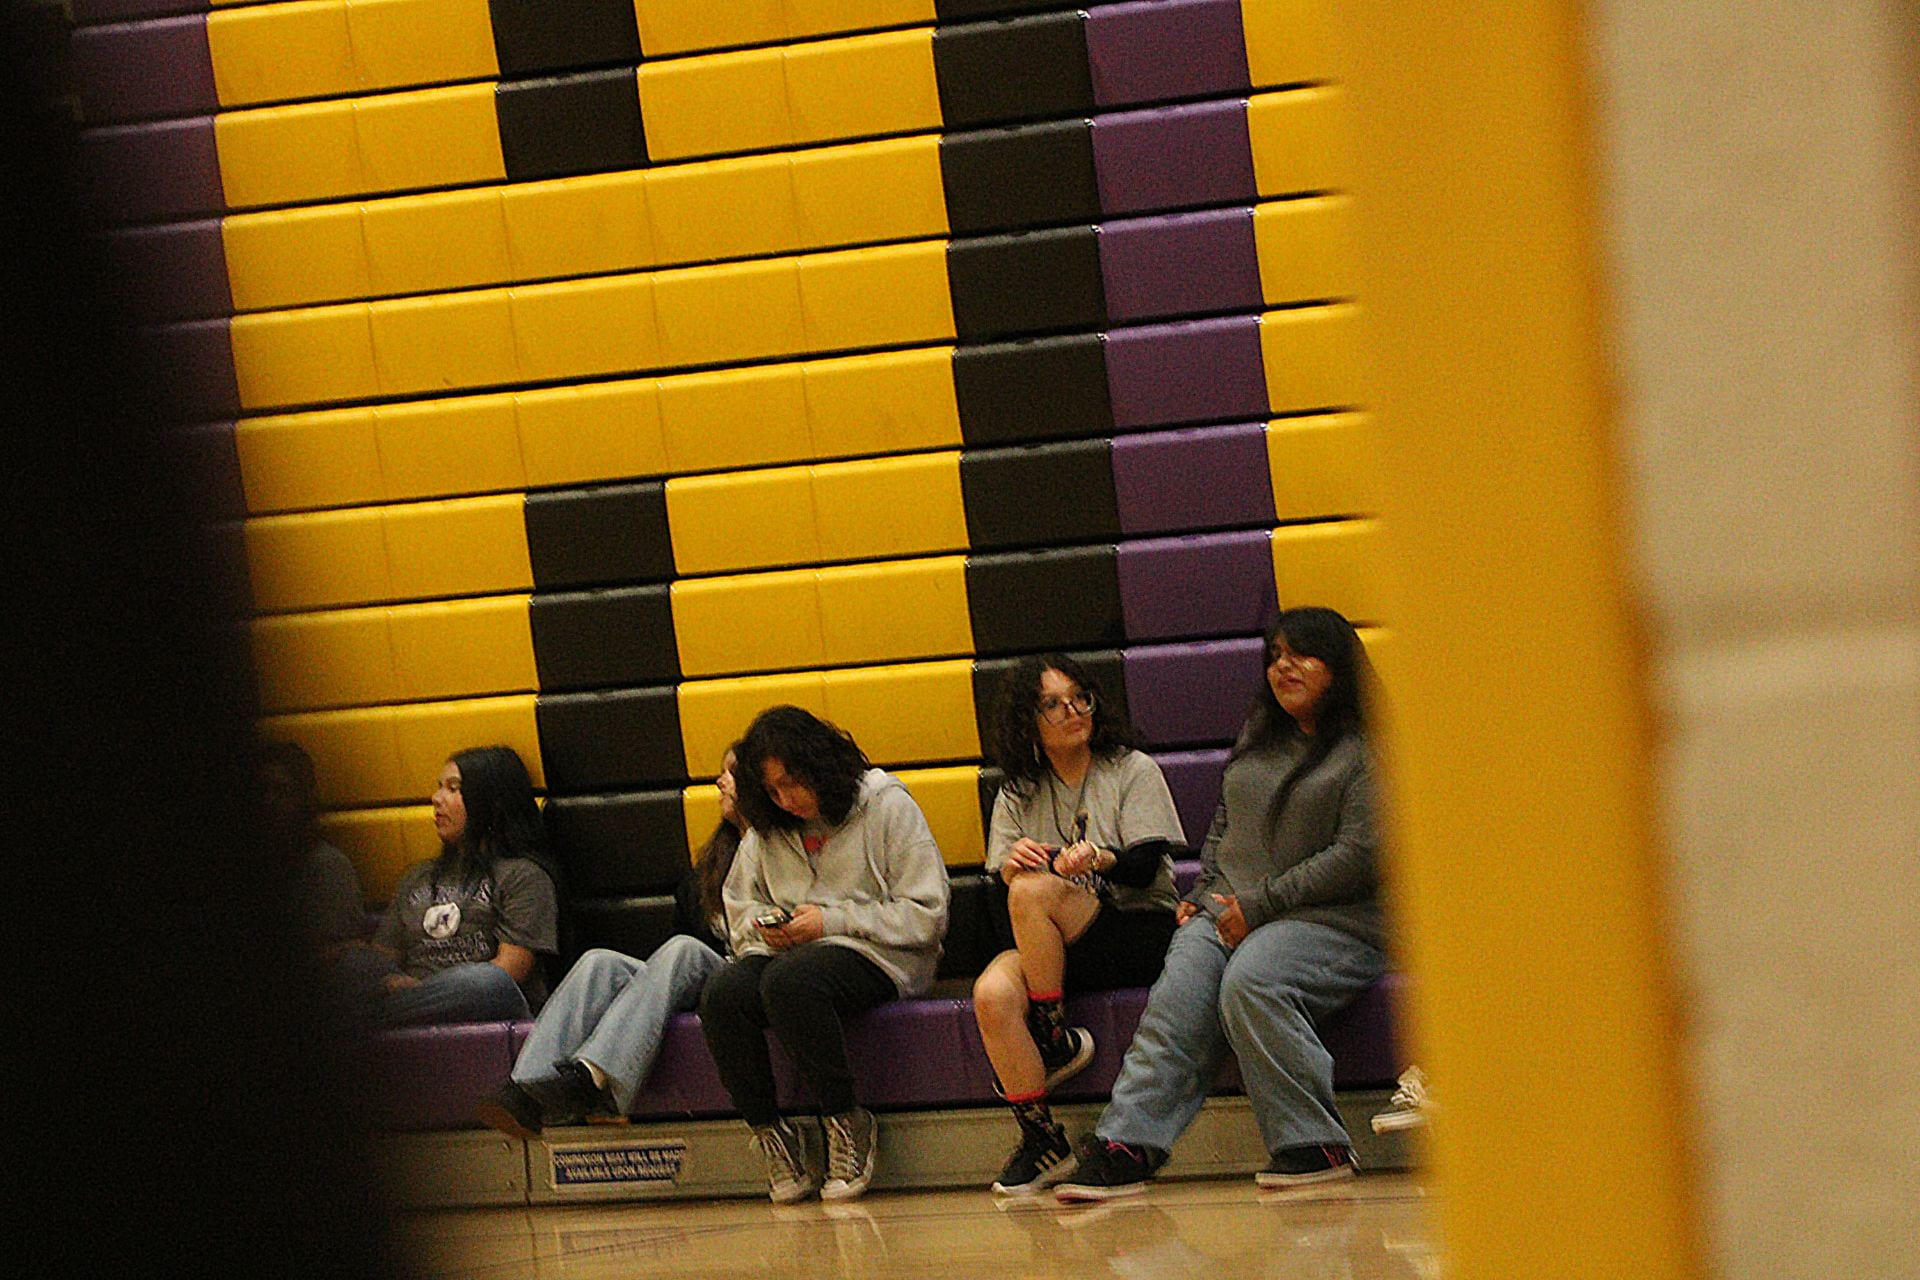
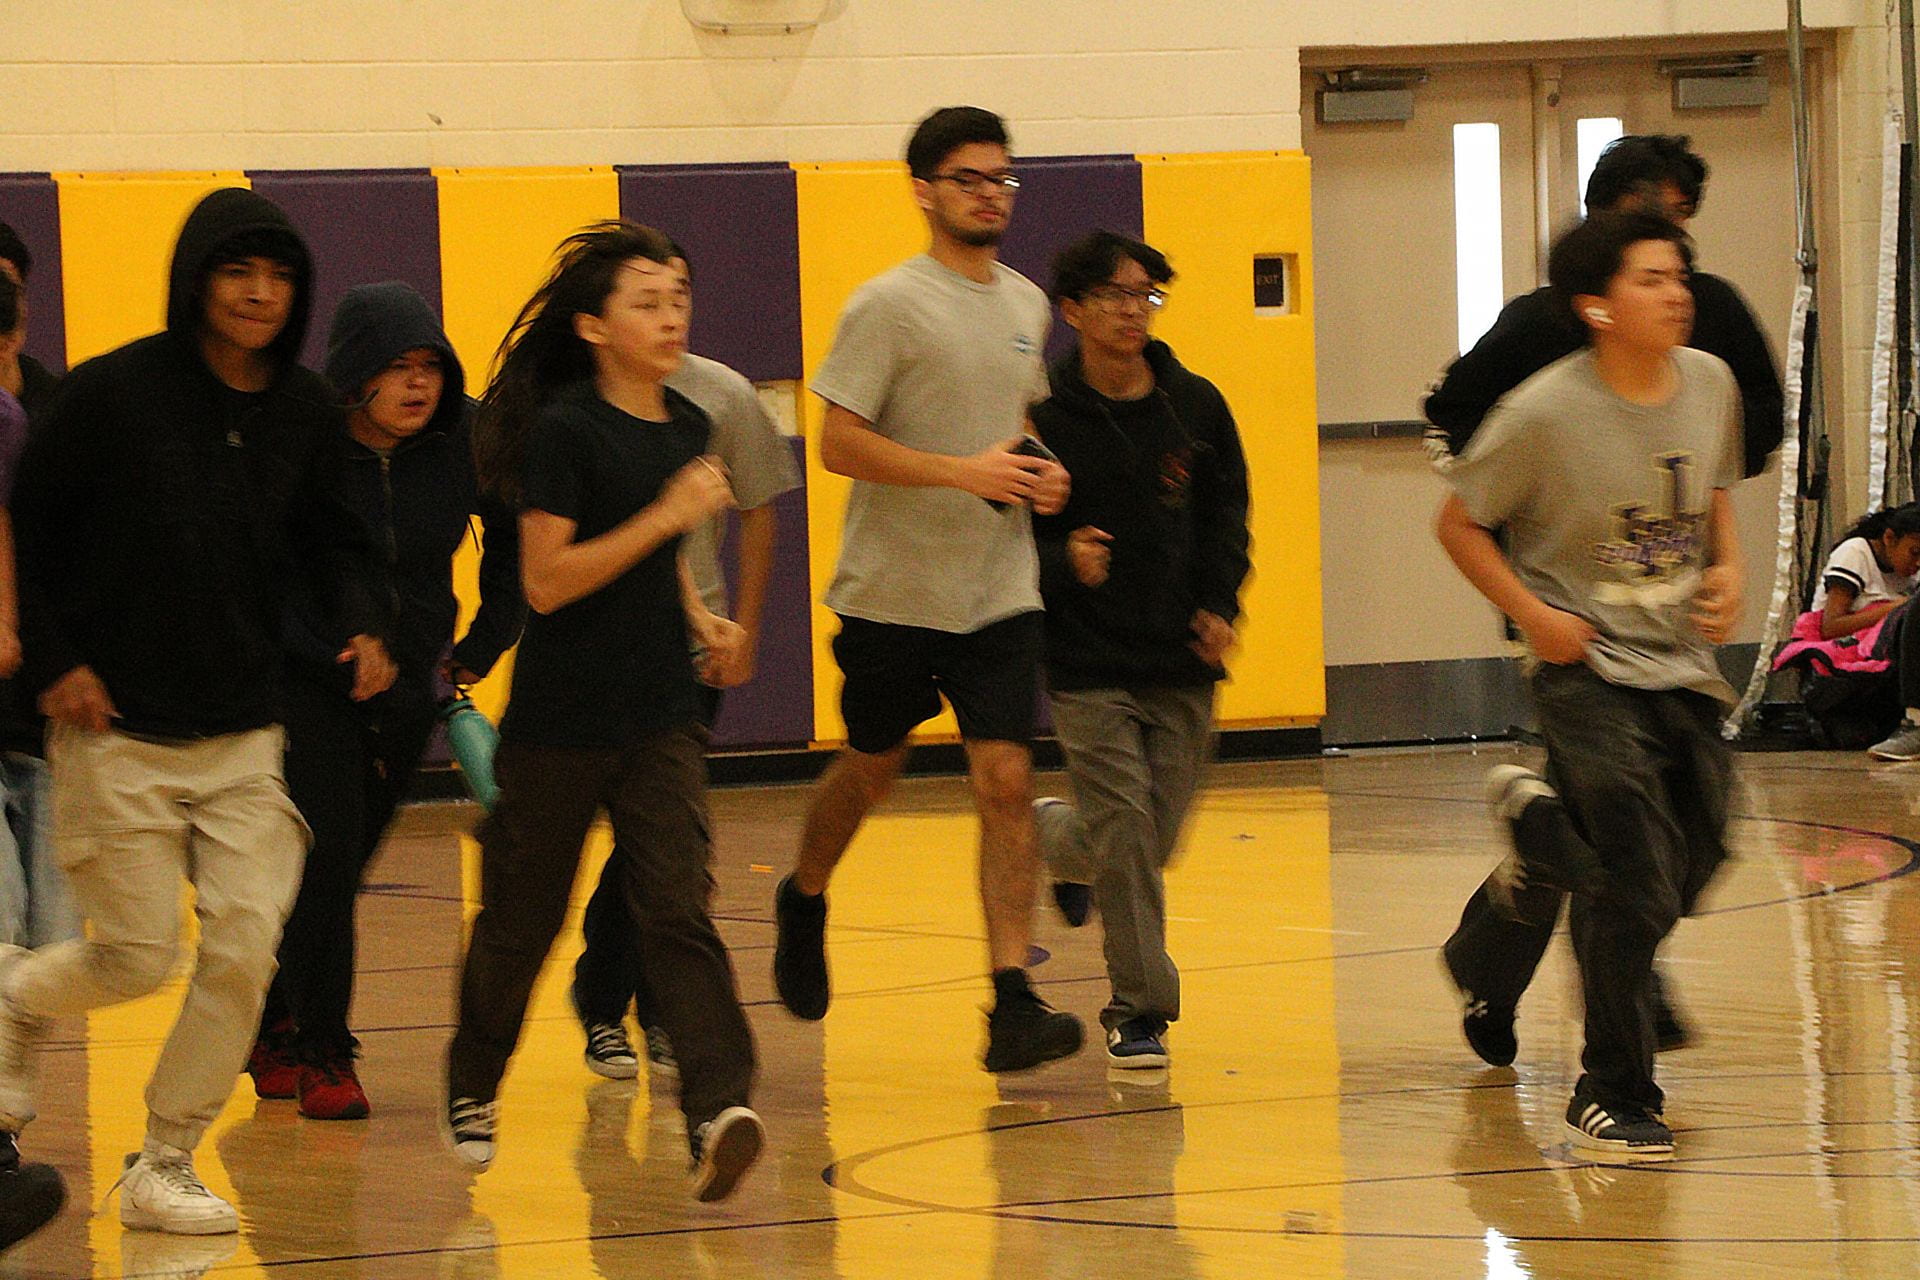
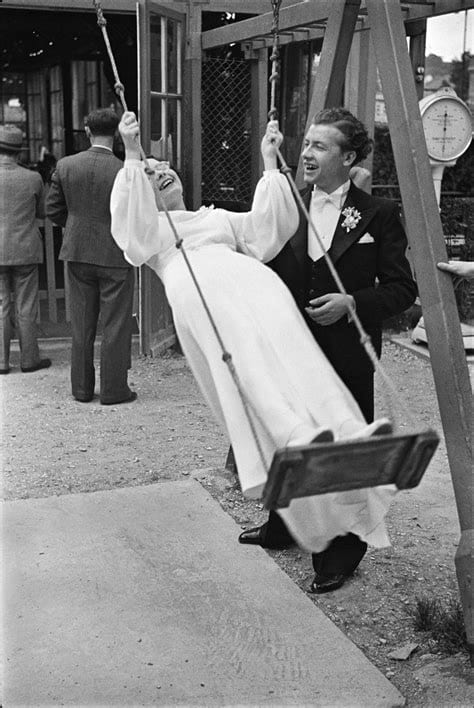
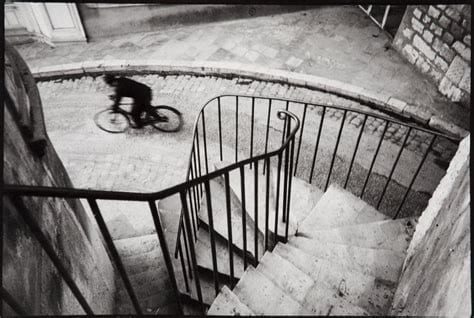
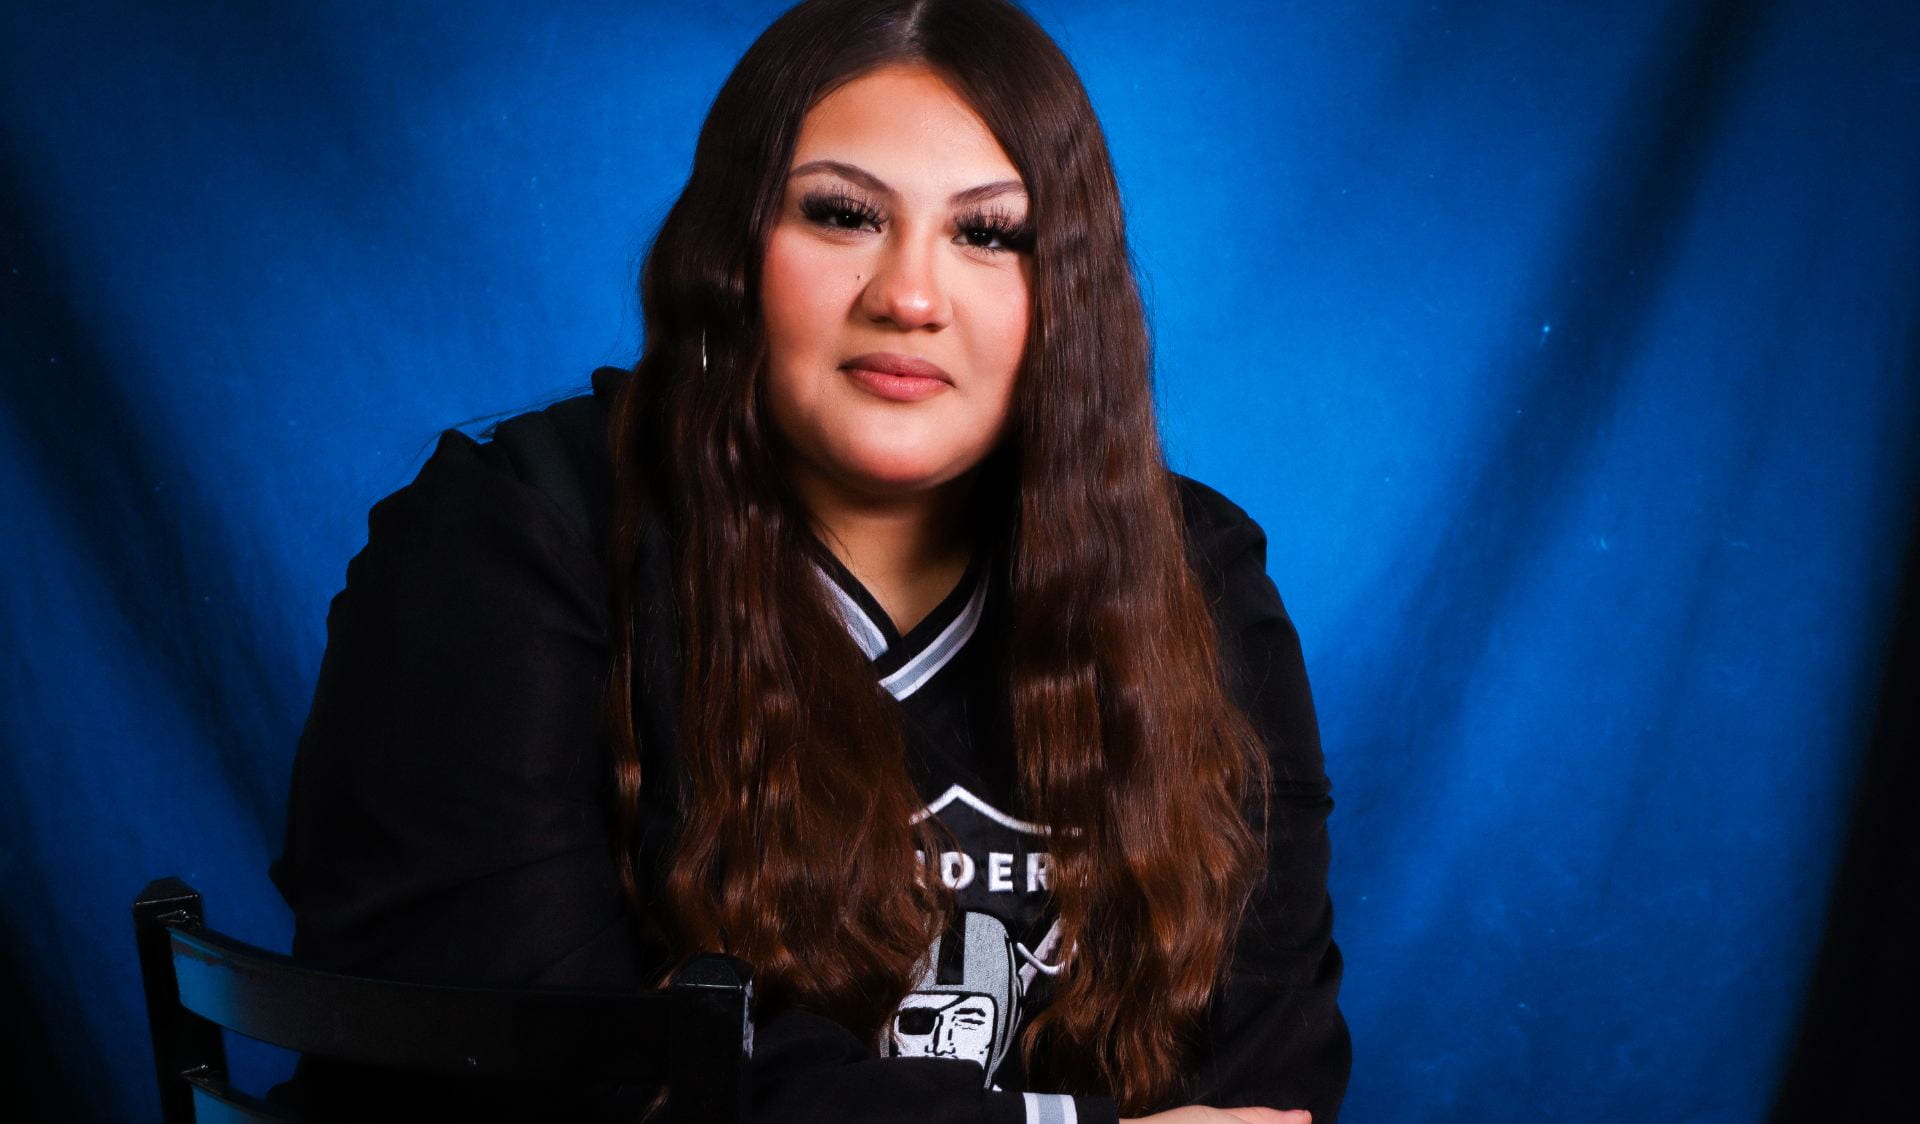
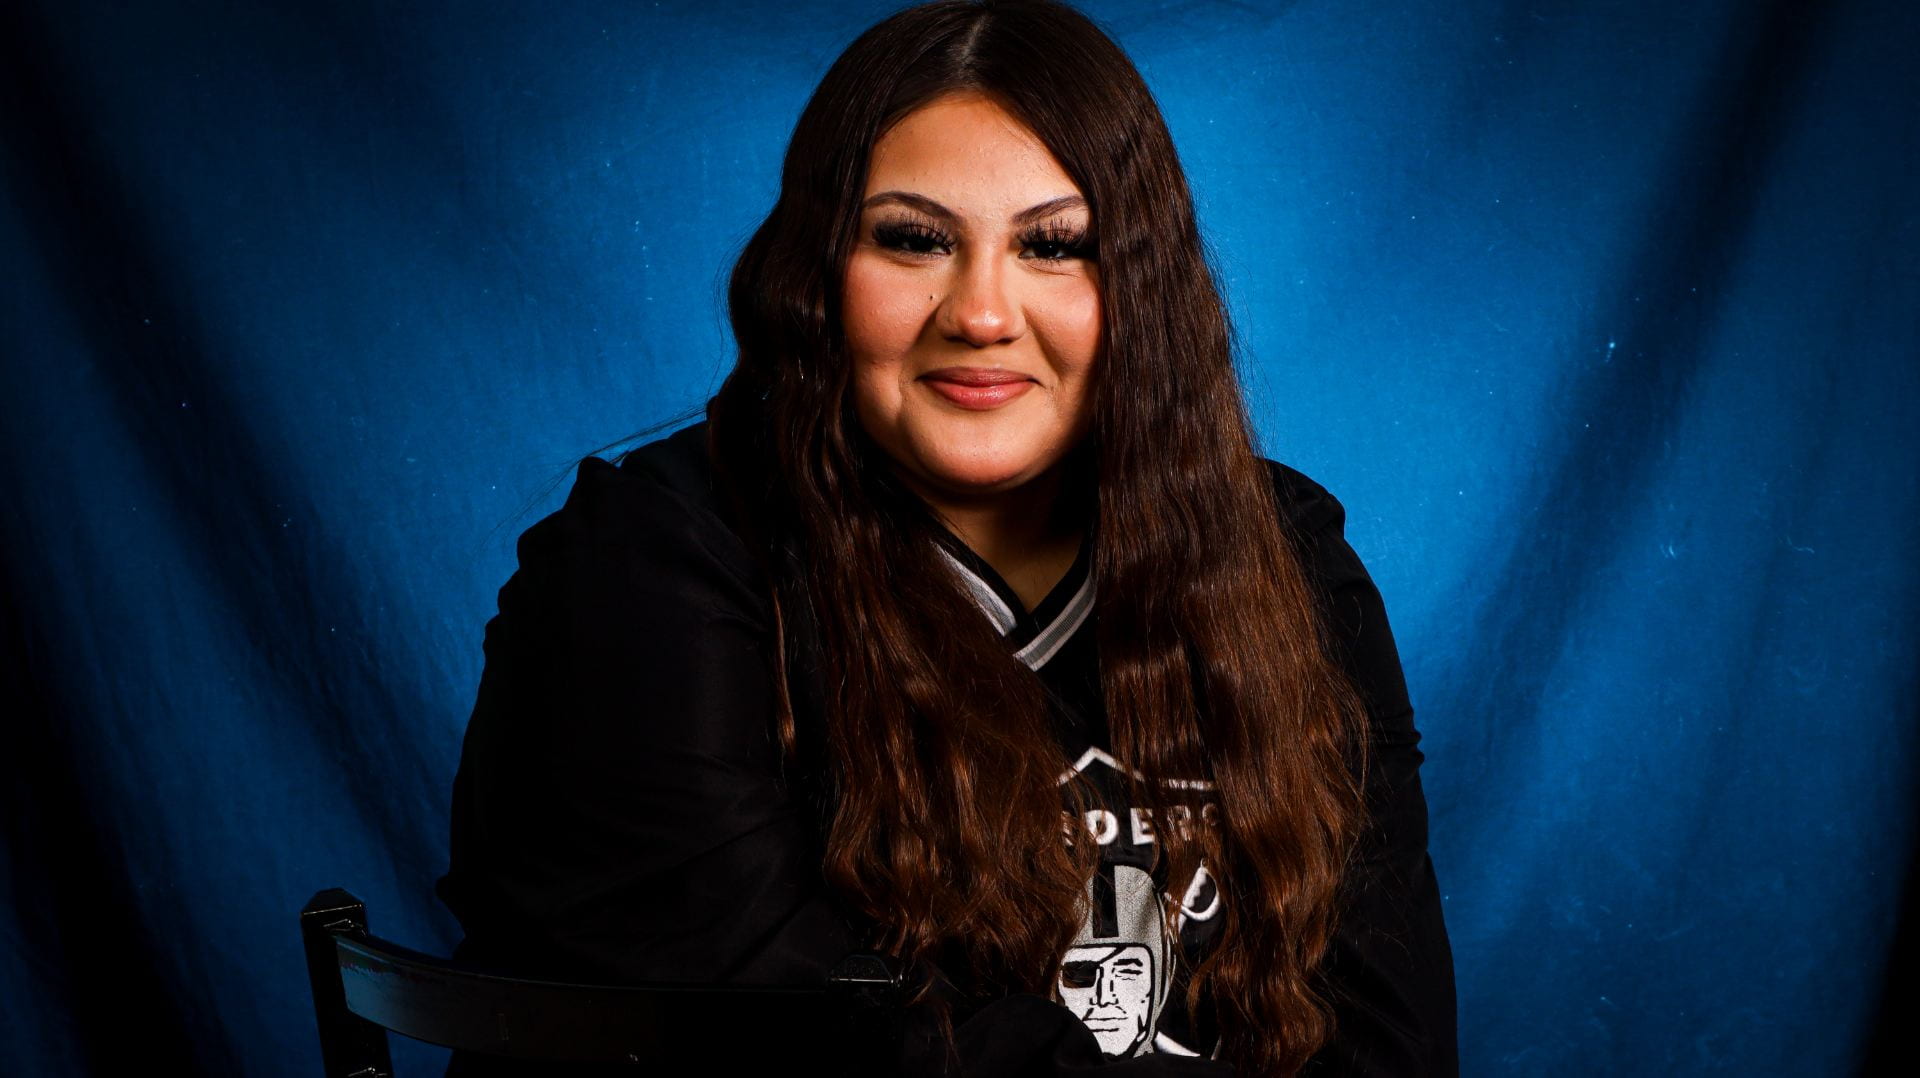
PHOTOJOURNALISM: CANDID MOMENTS WITH CAPTIONS